The Process of Installing a Roof
In addition to its visual role, your roof protects your home against the external aggressions of rain, snow, wind, and sun. Good roof coverage will limit the damage that may be caused to the roof or even the entire home. The roof must be waterproof, durable, and professionally installed for long-term protection. Work with an experienced roofer Boulder to get the process right.
How to Install a Roof
The installation of the roof, its renovation, or its maintenance should not be taken lightly. Only a professional roofer has a perfect understanding of the installation process, the best practices, and the difficulties to avoid.
With skills and experience in the field, a roofing Boulder contractor can install your roof according to the construction, safety, and waterproofing standards in your municipality. It makes it easier to meet the requirements of insurance to protect you against unforeseen disasters.
If necessary, the professional roofer can carry out regular checks and maintenance actions to detect possible problems. Note that a professional roofer must be licensed, insured, and bonded.
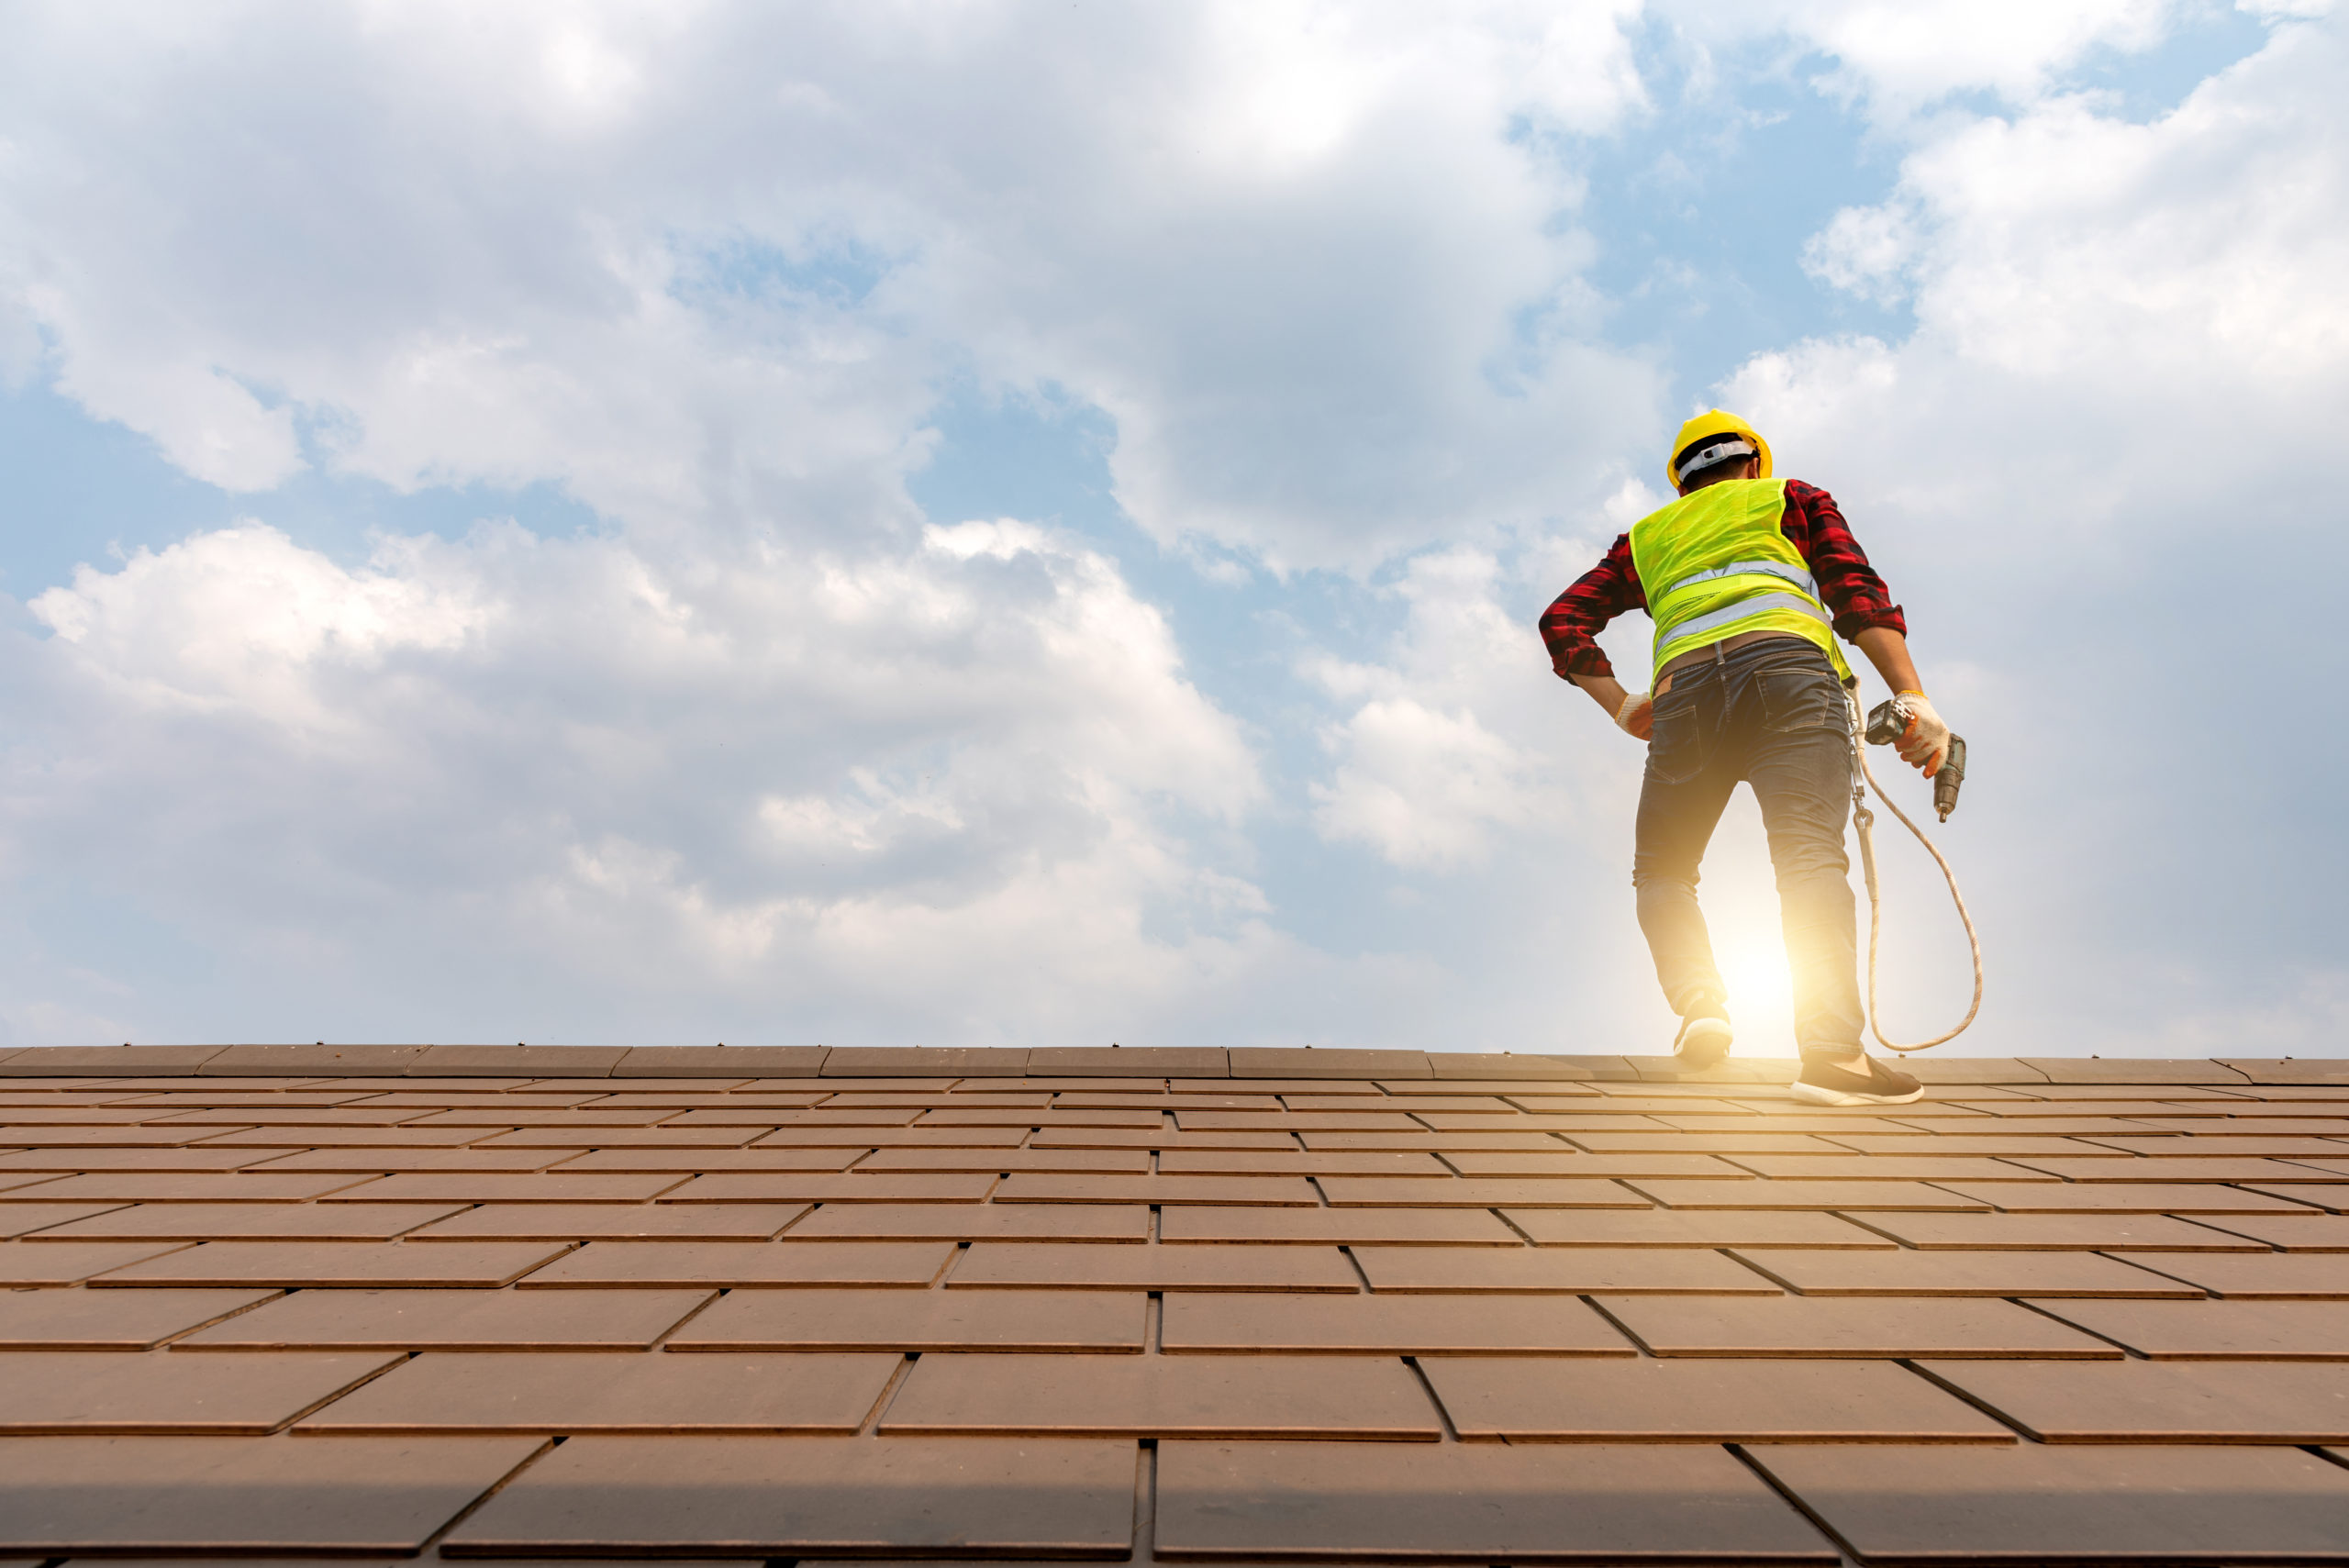
Step 1: Roof delivery and removal
Our team members will deliver all roofing materials to your home prior to begin roofing your home. The roofing crew will remove your old roof until it reaches the plywood, and will replace the plywood, if necessary. We will take special care to eliminate all the old shingles and underlayment, so your new roof lays on a clean foundation.
Step 2: Laying the waterproofing elements
To increase the waterproofing of the roof, we ensure to install an underlayment as part of the complete renovation of your roof. The underlayment limits the risk of infiltration into the home around sensitive points such as the chimney or the pipes. It also preserves the insulating qualities of the attic by improving the waterproofing of your home. One goal is to reduce energy bills.
The underlayment is well laid in the courses horizontally, overlying the water protector and also eave ice and water protection, and the valley flashing. If ice and water protection are not necessary for your region, we install the underlayment at the roof edge. With this installation process, the roof edge is cleaner, and the attachments to the underlayment are more resilient to wind uplift.
Step 3: Installation of shingles
Following the underlayment, we install your chosen shingles. Immediately following the shingle installation, we paint all of the vents and pipes on the roof to match your new shingles. By painting these accessories, they blend in with your new roof, enhancing its visual appeal.
Step 4: Clean up
We perform a final inspection of your entire property after installing your roof to ensure no debris, shingles, or nails are left on the ground. We use nail magnets to collect loose nails on your property. Your safety is our top priority.
Roof installation is not an easy task. Work with a qualified roofer Boulder for seamless, fast, and cost-effective roof installation.